Scheduling Lessons for Family Accounts
I’ve got a student/students whose account is under the parent’s name or the Family Name - How Do I Schedule Lessons for the Student(s)?
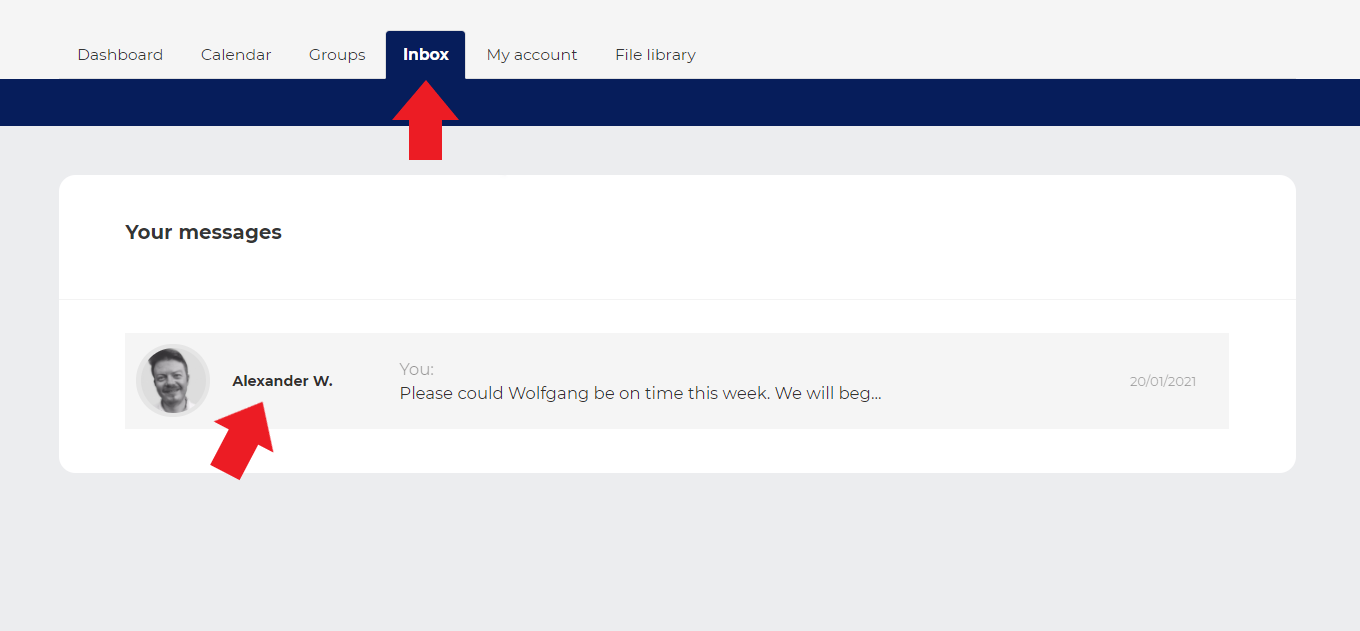
Have you received a message from a student whose account is under their parent/guardian’s name? Or the account name uses surname + family? Or there are 2 or more first names in the account name? If so, the account name could look like:
If a student’s account is presented like this, that means that the parent has 2 or more children who will be taking lessons on the site. We prevent account duplication by only permitting an email address to be used on one account. Therefore, multiple children are processed by creating separate users in the same account.
There’s not much you have to do differently here, but if you follow this guide carefully, you’ll be sure the lessons go ahead perfectly.
Step 1 - Arrange Lesson Dates & Times with the Parent
This is an example of good, clear messaging:
This is an example of an unclear message:
Step 2 - Scheduling Lessons - First Time
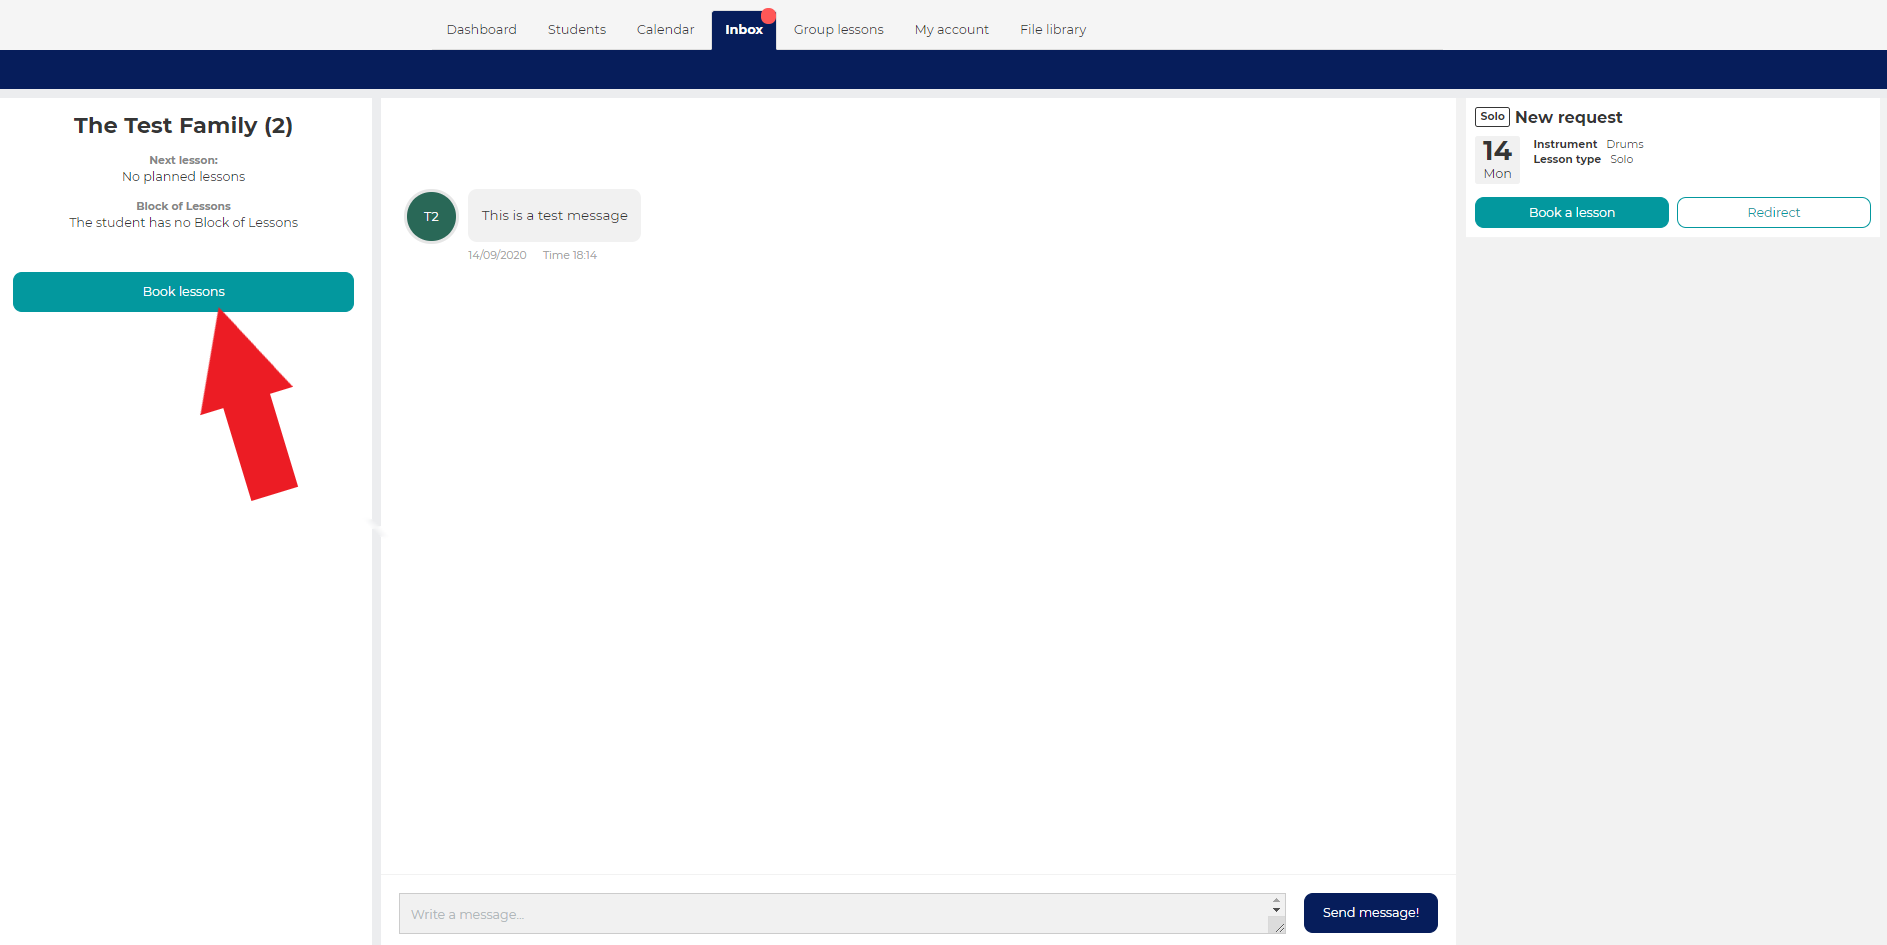
Once the dates and times of the lessons have been agreed, you’ll need to schedule the lessons in the booking system. The parent can then assign the correct lessons to the correct children.
If you teach more than 1 child in the same family, you’ll need to repeat the following process for each child’s lessons separately, as the parent can only assign 1 child to lessons at a time.
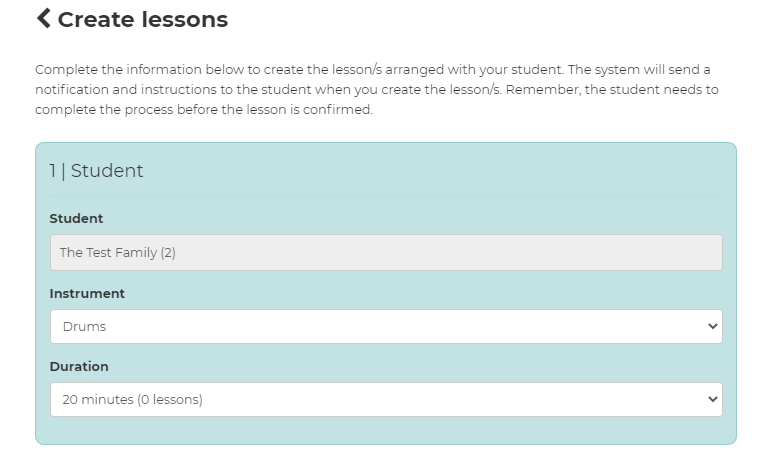
- Student - this will be automatically filled in for you as the name on the account. You’ll notice you can’t change this.
- Instrument - choose the instrument you’ll be teaching.
- Duration - it’s important that this is correct, so be sure to double check before you fill this in.
- Number of lessons - book in just one lesson or a series of lessons as agreed with the parent.
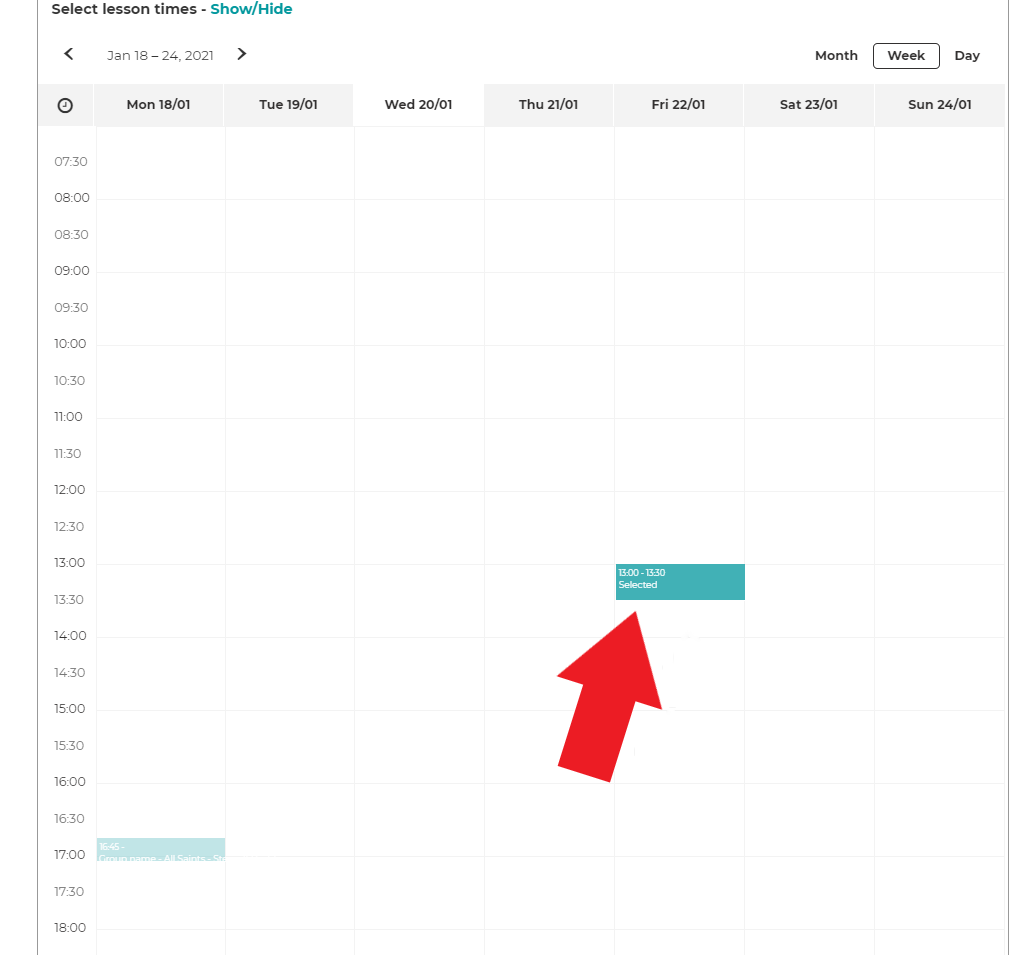
Step 3 - Confirm Details and Send to Student

Repeat the process for any other students who you teach in the family.
What Happens Now? How Do I Make Sure the Right Students Get the Right Lessons?
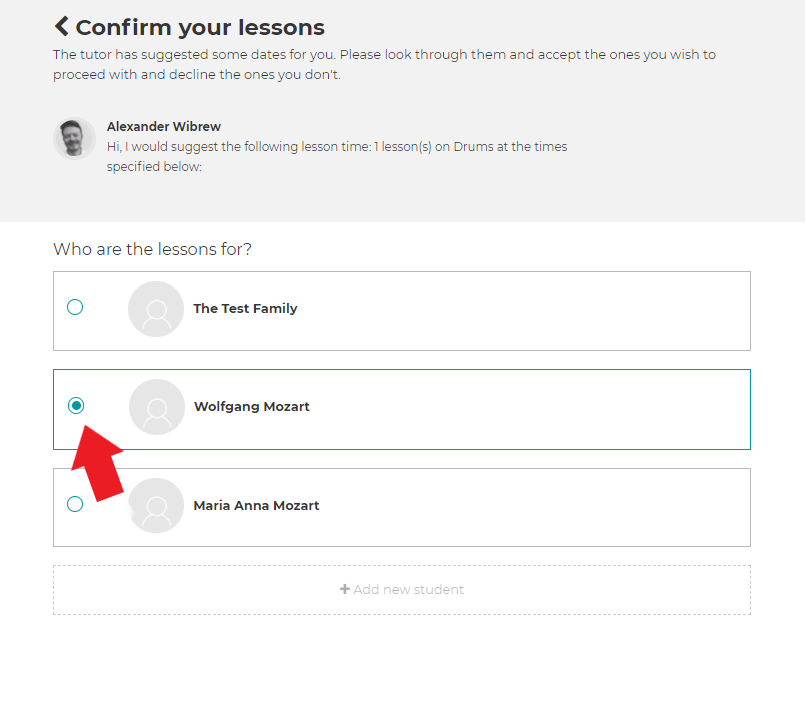
Not to worry - the parent takes it from here. Each booking is now sent to the parent via separate email notifications. They now need to confirm the booking, at least 24 hours ahead of the lesson. When they confirm the lessons they will be asked to assign a user to the lessons. It will look like this:
What about next time I book lessons with these students?
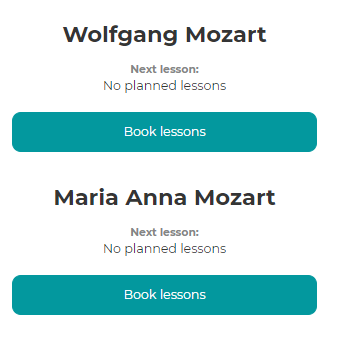
Next time you book lessons, you can follow the same process, except - you’ll be able to book lessons separately for each student.
You’ll see this at the side of the chat window:
And now when you’re prompted to fill in lesson details, the student name will be automatically filled in.
When the parent receives the booking, they’ll still be able to check the booking is for the right student and change it if necessary.
Need more help?
Please contact your music service/hub for more information.