How Do I Add Multiple Children to My Account?
How Do I Add Multiple Children to My Account?
Do you have more than one child taking lessons on the site? If so, you’ll need to add them into your account. But don’t worry, we’ve created this simple guide to help you!
The process for adding multiple students is different to the usual onboarding of students. We prevent account duplication by only permitting an email address to be used on one account. Therefore, multiple children are processed by creating separate users in the same account.
The account name should be your family name (eg. Walton Family), not the name of one of the children. All children associated with the account should then be set up as users. Here’s a video that explains how to do it, and for more details please read on:
Step 1 - Add Your Children as “Users” Inside Your Account.
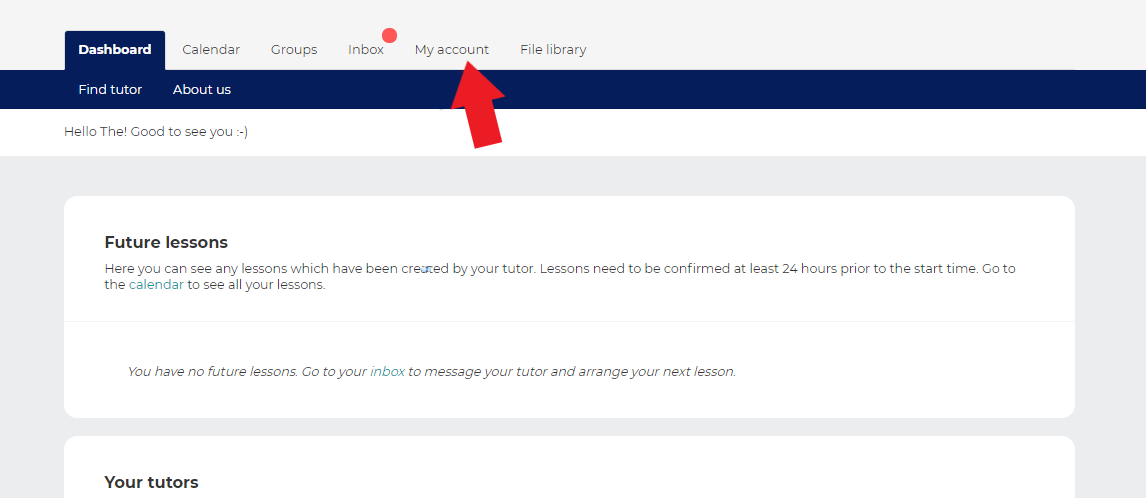
First, login to your account. For more help with this step see Logging in for the First Time or Forgot your Password?
You will now be taken to your dashboard. From here:
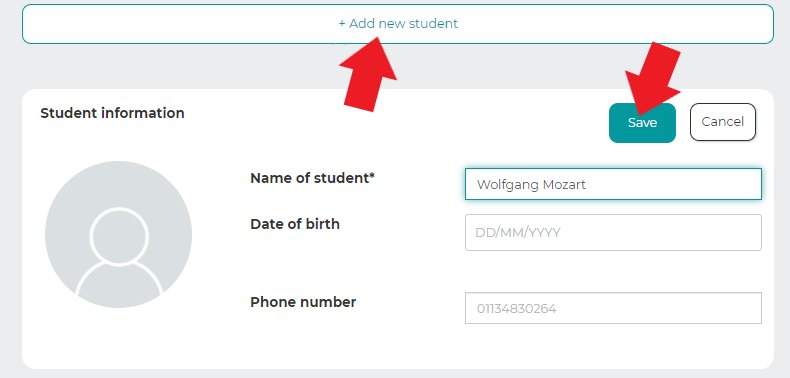
Repeat these steps until all your children have been added as users.
Note:It can help at this point to refresh the page, then you should be able to see all the users you’ve created.
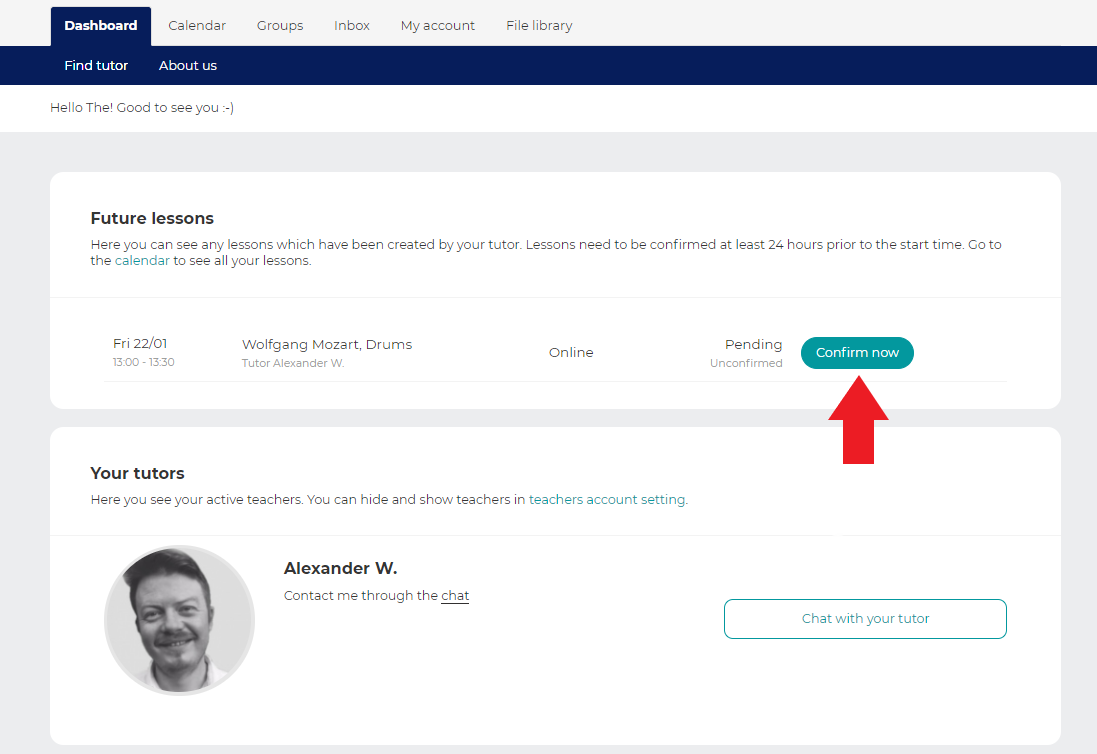
Step 2 - Confirming the Lessons.
When your teacher schedules your lessons, you will receive an email asking you to confirm.
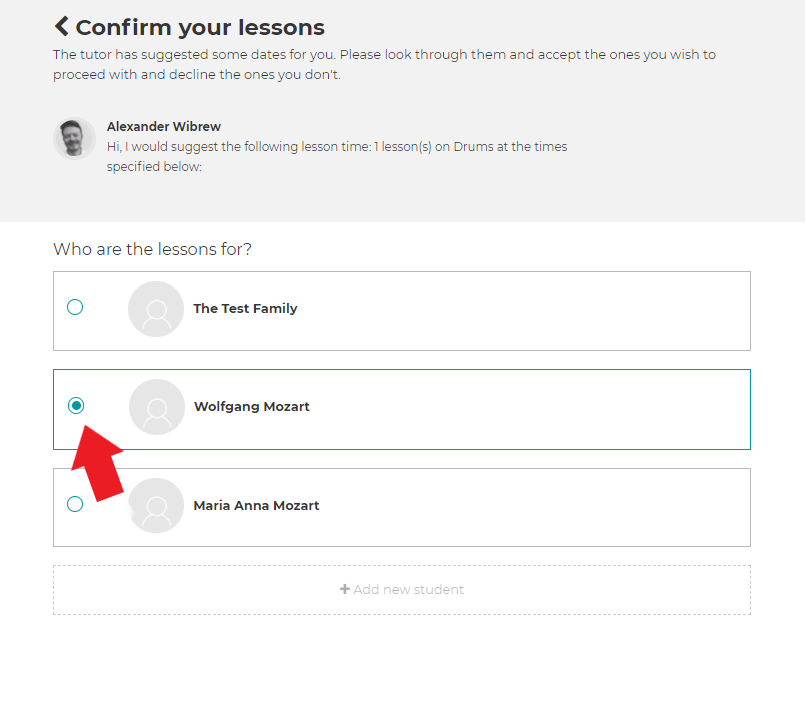
Note:We advise tutors to book lessons for each child separately as you can only assign 1 child at a time when confirming lessons. They should specify in the accompanying booking message which child the lessons are for. If you have more than 1 child with the same tutor, you’ll need to repeat this process for each child’s lessons.
Step 3 - Confirming Future Lessons.
Now the first lessons and the associated connections have been established, the name of the child (not the parent) will be automatically added to future lessons, and the teacher will be able to select the correct child to book lessons with. You will still be given the option to confirm which child lessons are for.
Need more help?
Please contact your music service / hub for more information.